Home Sweet Home
Making an outdoor cat shelter couldn’t be easier.
You will need these materials:
Get a fairly strong cardboard box with dimensions of roughly:
Height 15 inches, Length 21 inches Width 21 inches.
2 catflaps
2 sheets of plastic glass per window (approx. 8″x 6″) to make double glazing.
Roll of Thermal Insulation
50 Metres (approx) of Gaffer Tape
4 or 5 strong bin liners (garden or building liners also good)
Bag of Straw
Method:
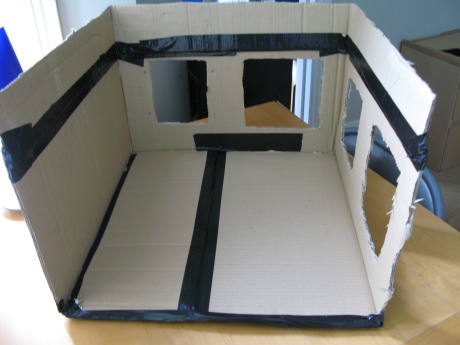
I couldn’t find a box the right size so I made one from other boxes, cutting it to the correct size and adding a strip at the top to make it higher.
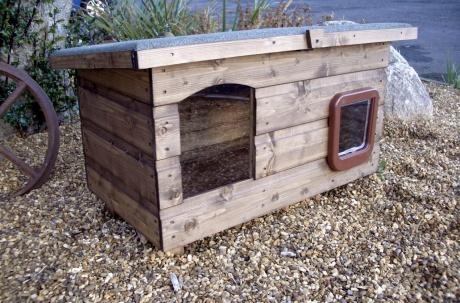
Cut holes for cat flaps and windows allowing room for the thermal insulation. Best to start with the holes too narrow and keep widening them till you get the right size than being too big and having to start again with a new box. I’ve put in two windows and two cat-flaps. Some feral or stray cats prefer having an escape route so two cat-flaps is ideal. I think it is best to position the cat- flaps and windows so that there is at least part of a solid wall for the cat to snuggle up against and so that it doesn’t create a wind tunnel. However you have to balance this with the cat being able to see out. The shelter I have made here is just an example of what’s possible – you may wish to try different designs. If you do I’d love to see what they look like to please send me a picture and I can post them here for others.
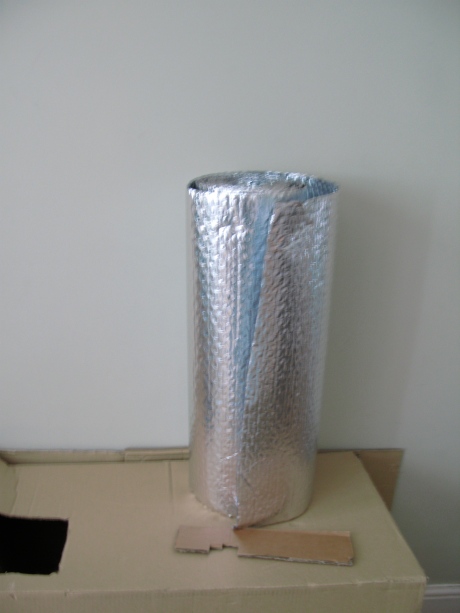
Start to line the box with the Thermawrap. I used this which I bought from Homebase here in the UK.
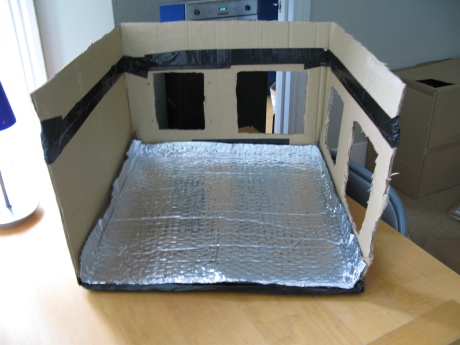
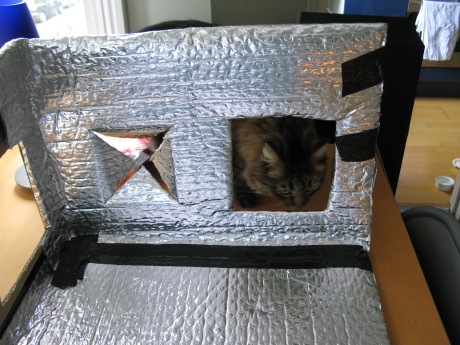
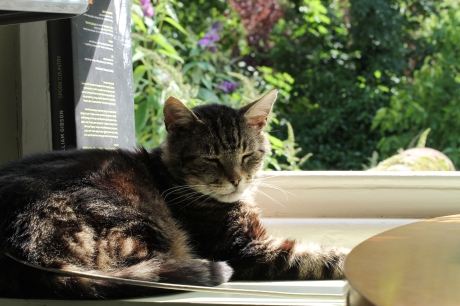
Lyra has come to help!
When you come to line the sides with the window and cat-flaps then start by covering the whole side then make 4 diagonal cuts in the Thermawrap from the centre of the holes to the 4 corners. This will make 4 triangle shapes and you can then bend the Thermawrap through the hole and tape to the outside of the box. Before you tape it though try the hole out for size by placing the cat-flap in the hole in case you need to widen it.
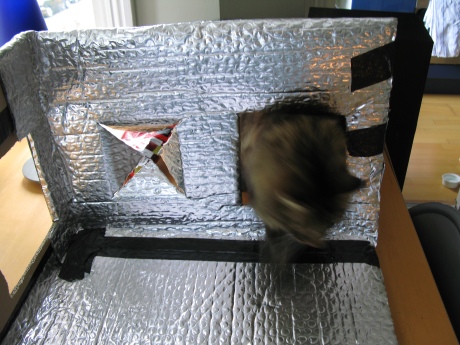
Phew the hole is big enough for a cat to climb through!
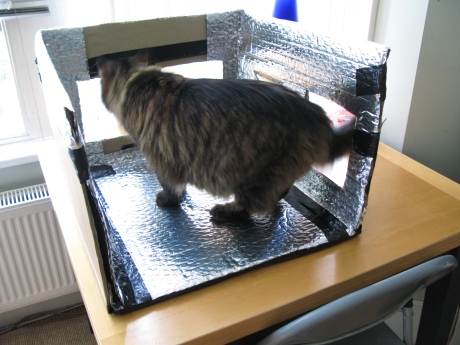
…and the box is big enough for her to stand up in!
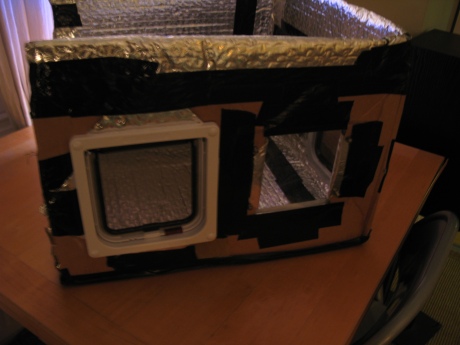
Once you have the holes to the correct size you can then fit the cat-flaps and windows bearing in mind that you may need longer screws for the cat-flaps as the box with the Thermawrap will now be fairly thick. I managed just about but it was a struggle. If you look at the window on the right you can see where I have taped the Thermawrap to the outside of the box.
For windows I ordered 4 sheets of plastic glass (PETG) on-line from The Plastic People. They offer an excellent service and you can have the plastic cut to size and specify what thickness you want and if you want holes in the corners. I wanted double glazing so I allowed for 2 sheets per window, 2 mm thick, 8″ x 6″ with 4 holes in the corners. In hindsight as the window area is so small I probably would not have had the holes as the plastic is just as easy to fit using tape. The holes make it more expensive and you need to bear in mind that they are positioned about an inch in so makes the window area smaller.
To fit the windows and make double glazing place a sheet of glass either side the cardboard. Cut a hole in the cardboard smaller than the glass to allow for fixing it to the box.
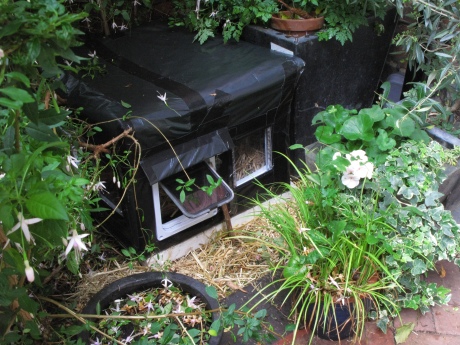
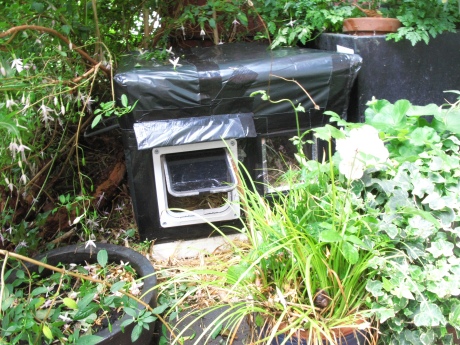
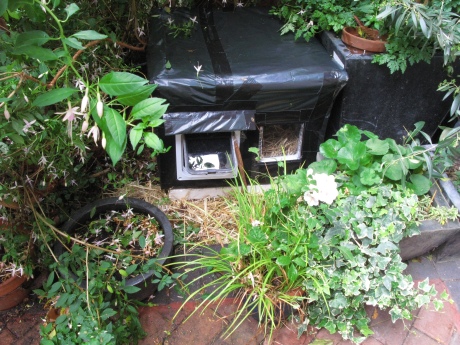
Cover the box with extra strong bin liners securing in place with the gaffer tape to seal any gaps and make it waterproof. I also made a little awning from a piece of cardboard covered with bin liner to put over the cat-flap for extra protection against the rain. Don’t place the box directly on the ground to protect from damp. I got an empty polystyrene plant pot tray holder from my local pet shop and placed the shelter on top of that. Bricks are also good.
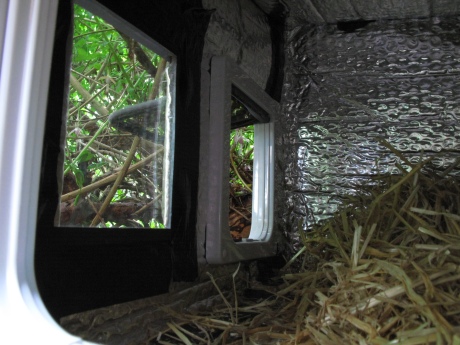
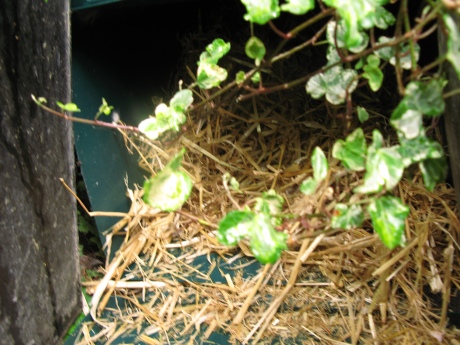
Here is an inside view. Fill the inside with straw as it has good insulating qualities and doesn’t absorb moisture so should help to keep your cat warm and dry. Don’t use hay, clothing or blankets as these can absorb moisture and become mouldy.
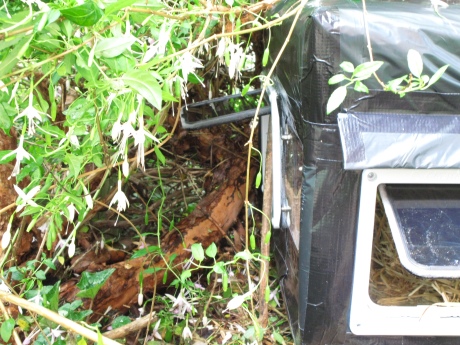
I propped both cat-flaps open with sticks using a bit of tape to air out the shelter and encourage my stray to go inside as I don’t know whether he can use cat-flaps yet.
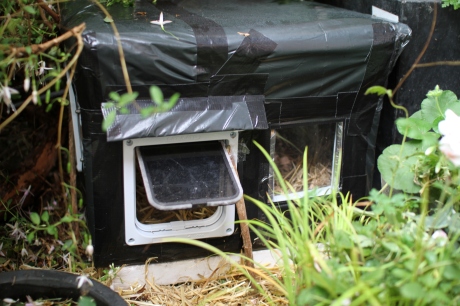
SUCCESS! In the morning I went outside to call for Charlie to give him his breakfast and he came out of the shelter! I don’t know if he had stayed there all night but at least he now has somewhere warm and dry to wait for meals.
I have been trying to take a picture of Charlie coming out of the shelter but it is fairly dark here in the mornings at 7am and I didn’t want to put the flash on in case it spooked him so this is the best I can do for now. Will try with different camera to get a better shot in low light.
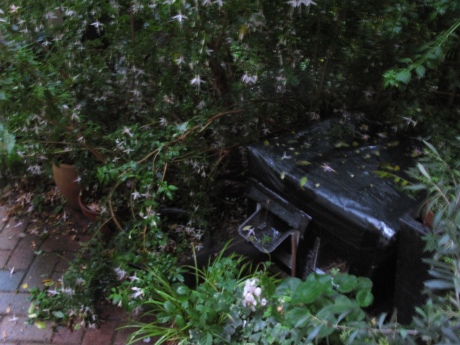
Glimpse of Charlie emerging from his shelter
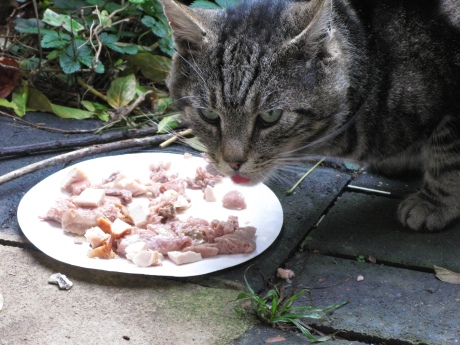
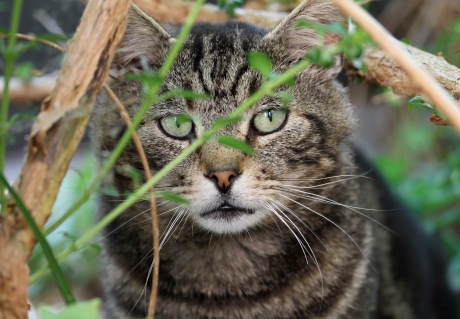
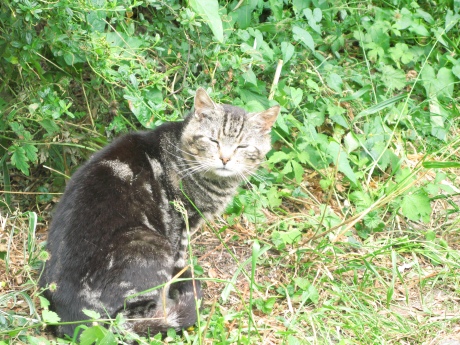
Charlie eating his breakfast – as usual very suspicious of me!

